
Chips
Demo Day
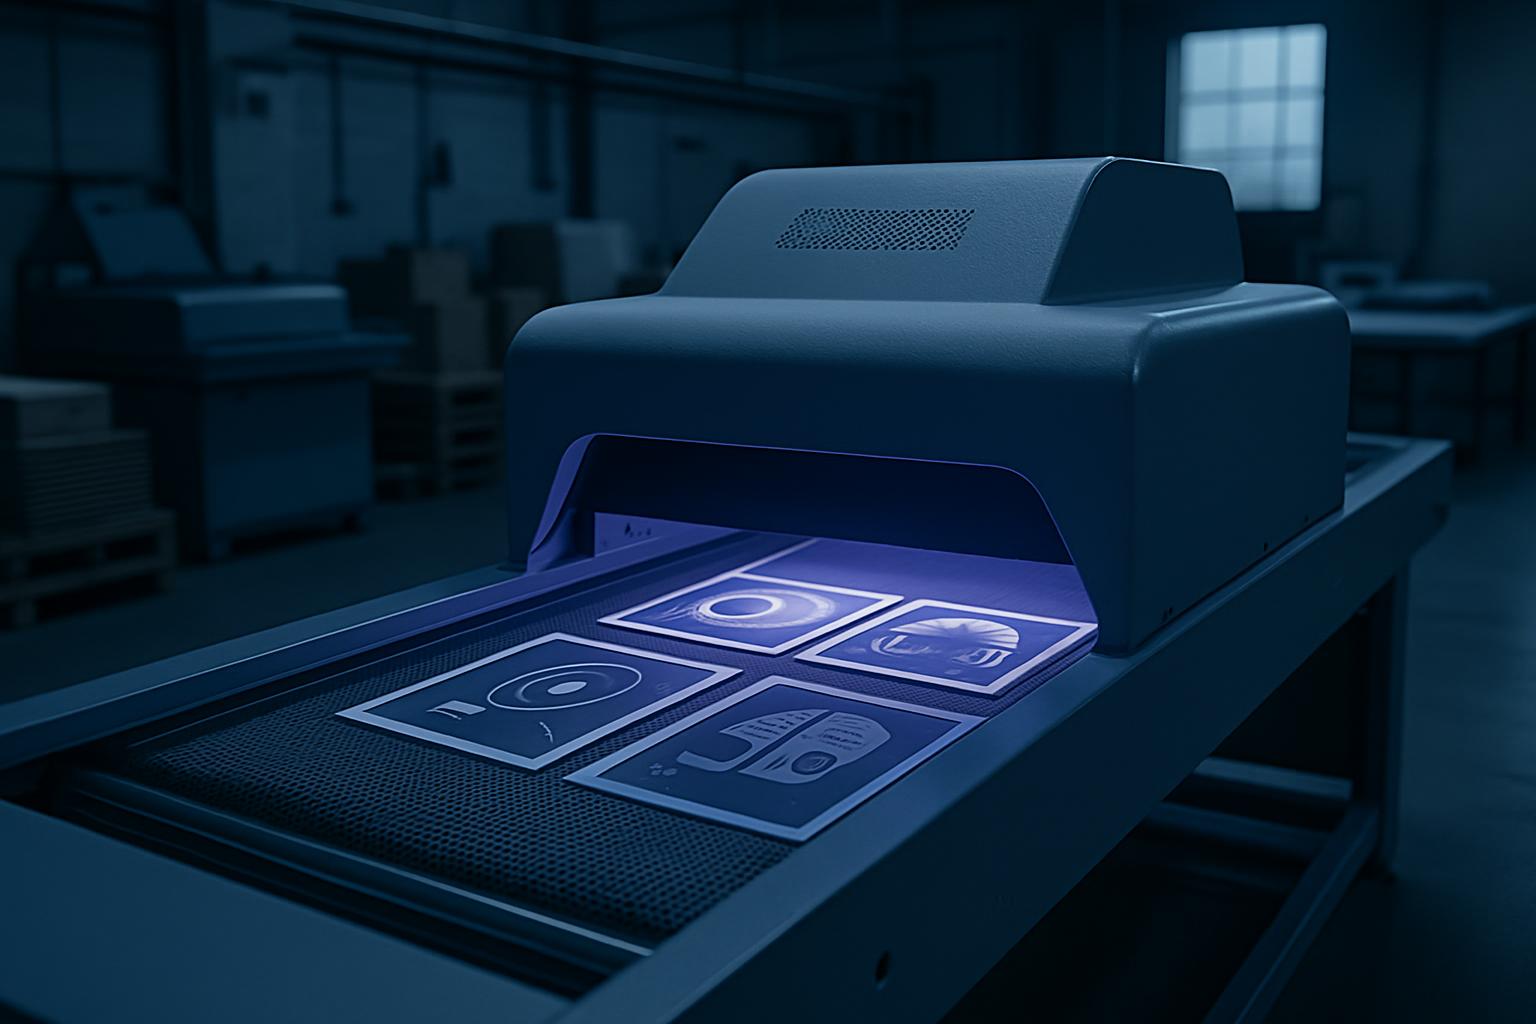
A practical shop-floor note on demo day, from machine setup to sample cuts that show the finish properly.
A live machine demo means more than watching a spindle run. Demo Day is our note on preparing the right material, tooling and sample paths so customers can judge the result properly.
For Demo Day, the note must match what happened at the machine. Record the board or plate used, the cutter diameter, spindle speed and hold-down method so the sample edge can be judged fairly later. If you want the same setup referenced, use the contact form and name the demo sample clearly.
Machine checks before the sample run
- Vacuum hold-down checked on offcuts
- One close photo of the cut edge, tool, or coating sample
- Material sheet and cutter code noted for the demo
- Operator and customer names written as used on site
After the demo, compare the journal note with the tooling pages used for the run. That keeps the sample board, cutter type and visible finish tied to the same record. It also helps when a customer asks which bit produced a specific edge.
How Demo Day looks with purple-forward tooling samples
Demo Day works best when the machine setup is simple and visible. Show the cutter in use, run sample cuts on the right material, and keep the finished edge clear enough for customers to judge properly.
Begin with the stock you can cut in front of people without confusion. MDF, plywood, ACM and aluminium all show different chip behaviour, noise and edge quality, so the setup must suit the material in the room. In Johannesburg, Durban and Cape Town, power availability, dust extraction and delivery timing can change what is sensible to demonstrate.
Take the first setup photo before the spindle starts. Include the sheet position, clamps or vacuum zone, and the fitted cutter so the sample is not separated from its machine conditions later. A short printed note near the router saves guesswork when the same pattern is run again.
What the customer should inspect
A useful demo leaves visible evidence, not vague impressions. The customer should have a labelled sample, the basic cutter and speed details, and a simple list of what was changed between passes. One clean comparison between two toolpaths says more than a long technical talk beside the machine.
Link Demo Day to the matching chip note only after the sample pieces are marked and stored. Check the cutter seating, spoilboard condition and file name before any parcel leaves the workshop.
- Sample path suited to the machine shown
- First pass recorded before settings change
- Demo notes sent with the sample set
Conditions that change a live demo
A machine demonstration must fit the workshop day around it. Traffic to industrial areas, courier collections, shared power on site, and visitor access around the machine all affect how much can be shown properly. If another production job is loaded next, keep the demo path short and easy to reset.
Coastal humidity can mark stored sample pieces and affect how tooling is kept between demos. Inland dust builds quickly around collets, rails and extraction points, which changes how cleanly a repeated pass presents. During load-shedding planning, run the comparison cuts first so the key evidence is captured early.
Operated by Astros Marketing (Pty) Ltd from 2 Makro Place, Sunnyrock 1401.
Notes worth capturing on Demo Day
A practical shop-floor note on demo day, from machine setup to sample cuts that show the finish properly.
Write up the demo while the sample board is still beside the machine. Note which cut showed the best finish, which feed change improved chip clearance, and whether the coating stayed visually clean after the pass. That record is far more useful than a loose offcut with no settings attached.
What our CNC Tooling customers say
Verified Google reviews